


Tutorials
Quick and Easy with Black and White! (09.17.04)
Materials: Photoshop 7, WACOM Intuos 2 Tablet
Note: Click on any image to view the full size version.
Quick and Easy with Black and White! (09.17.04)
Materials: Photoshop 7, WACOM Intuos 2 Tablet
Note: Click on any image to view the full size version.

|
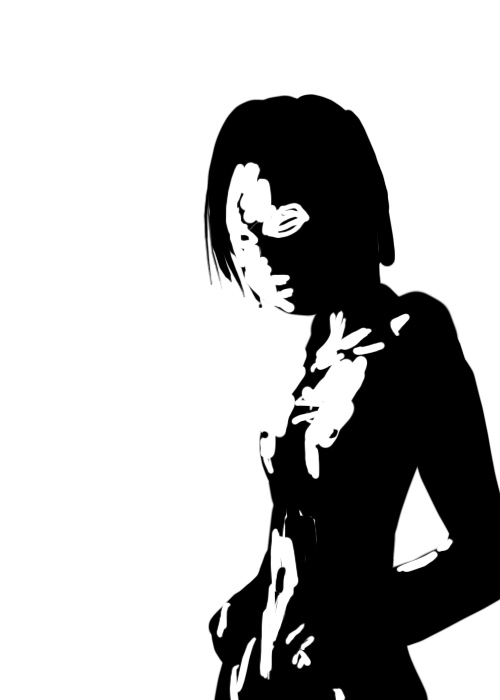
Step 1 First, I block out the area I want to draw to. I just take a black brush and slam the color down. I don't care too much about defining the shape too well at this point... I just want to get a feeling for the general placement of body. This way, when I add detail later, I have a nice 'skeleton' to nail each part onto. |
|
Step 2 Now, I get a general feeling for the lighting. Just slapping on color, I can get a broad feel for what the finished product might look. One of the benefits of working with black and white is that it really lets you visualize things really quickly and test them out on paper (or on this case, the screen) very quickly to see if they work or not. At this point, I think I'm ready to start working out some details. |
|
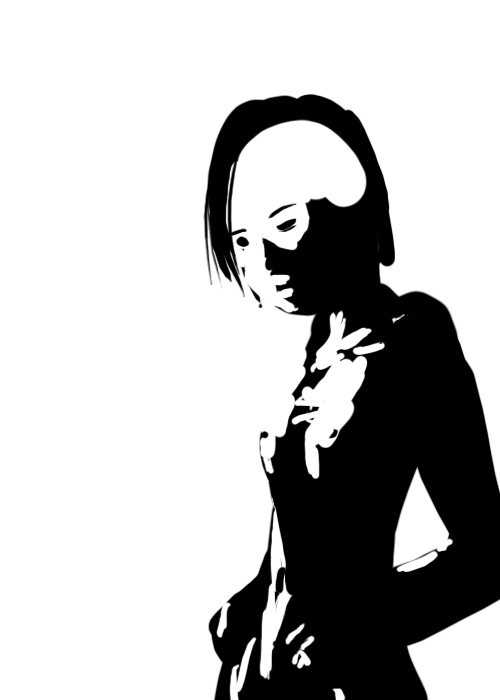
Step 3 Okay, so, I've put in markers for the eyes, the mouth and nose. I've also cleared away some of the head so I can start building a hairline. I'm less confident about the lighting on the face at this point, but I push on anyway. |
|
Step 4 Going back in with the black, I start playing around with the shadows until the face starts to look a little more correct. |
|
Step 5 I start to get annoyed with the face, so I just cover it all in white and stick in the details. Here we see the benefit of blocking in the body in black beforehand. Since the rest of the body is kinda there already, I can use it as a nice measuring tool to get the face proportions and angles right. |

|
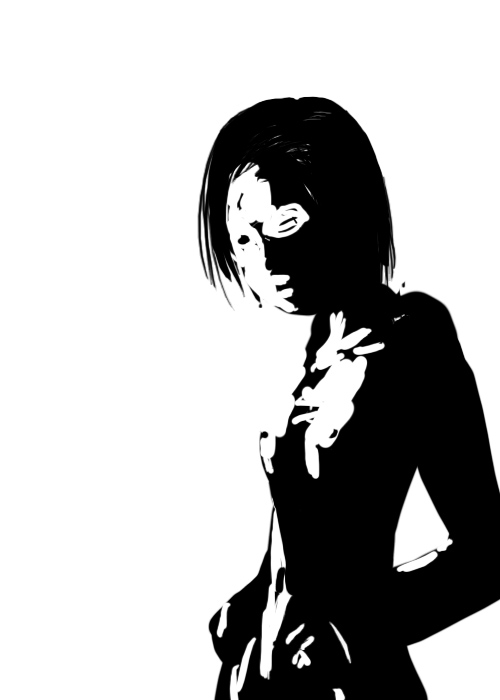
Step 6 Now it's time to do the hair. I block out the top in white, and start adding black back in until the top rounds out and I have pretty human-like proportions. I black out the eyes again too, because I'm not quite satisfied with 'em. |

|
Step 7 Now, making the brush rather small, I use quick smooth strokes to make those strands of hair flow nicely with the shape of the head, as well as throw in a few loose strands to frame the rest of the face. I also settle on the lighting a bit and add a shadow to the lower jaw. |
|
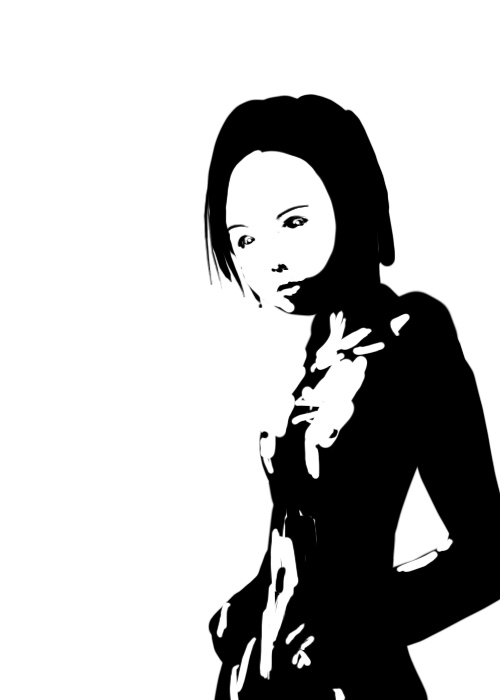
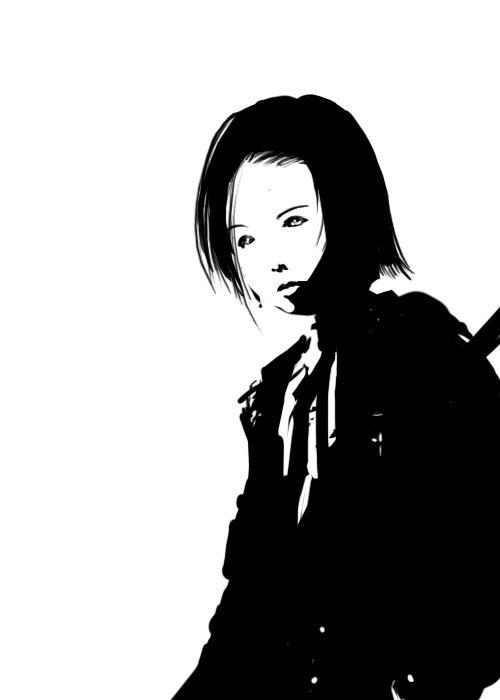
Step 8 Breaking out the big black again, I cover her up with some clothes. I don't do it too seriously... I just throw in the black until it looks right, smoothing and erasing where necessary. The key is to get the shape of the body without overworking it with details. |
|
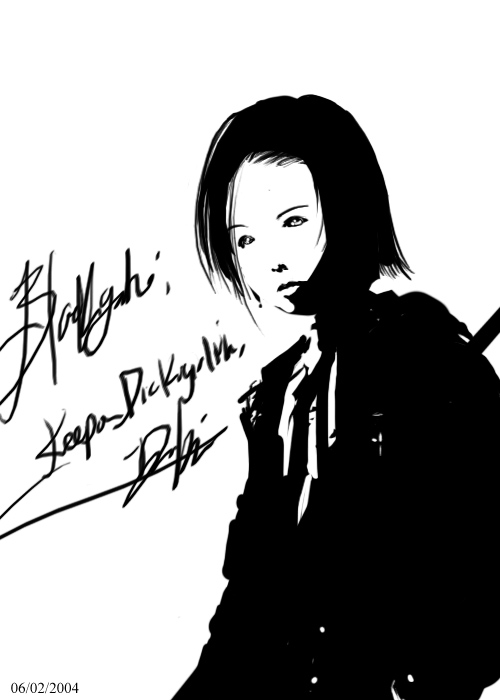
Step 9 Finally, I sign it: "Blackgato: keep on dickgirlin' - Dan Kim" If you liked this tutorial, or have any further questions, just drop me a line in the forum. |