


Tutorials
PS8/CS Coloring (11.25.04)
Materials: Photoshop CS, WACOM Intuos 2 Tablet
Note: Click on any image to view the full size version.
PS8/CS Coloring (11.25.04)
Materials: Photoshop CS, WACOM Intuos 2 Tablet
Note: Click on any image to view the full size version.
|
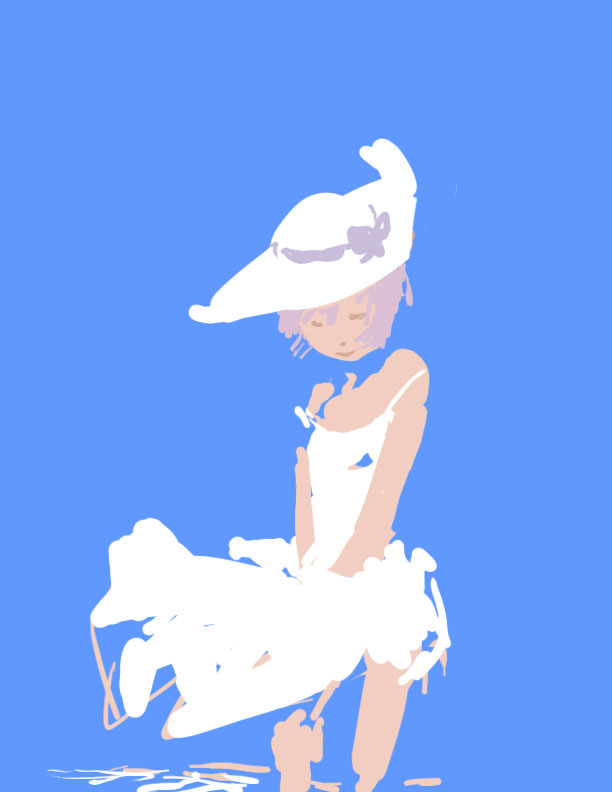
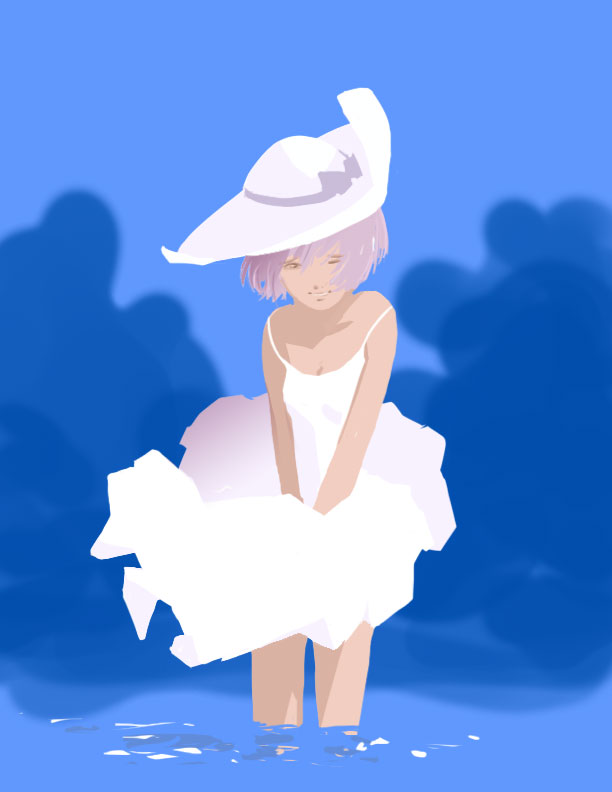
Step 1: Planning and
Guidelines As with most things, it's best to approach a drawing with a plan. If you enter into a drawing without a design for your endgame, you'll end up in a sort of 'artistic Iraq'; you'll be spending all your time covering up mistakes, aimlessly wandering from one crisis to the next, and not have any kind of definable criteria for a 'successful' drawing. In short, you're almost guaranteed a very hard time. In this case, I'll be painting a 'thank-you' gift for fellow clone-boarder, Sar, as he sent me a very cool Nana model. Since he sent me a Nana model, I'll be drawing Nana in return. Nana at the beach, standing in the water! Normally, I'd send him some vector-fisting or something, but I don't think that'd be cool to put on your wall. Anyway, I slam down some blue real quick, make a new layer, and splotch out some colors. At this point, I'm not worrying too much about color or the exact form... I just want to get 'first approximation' to the image I have in my mind. Just think of it as a lazy man's guideline. |
|
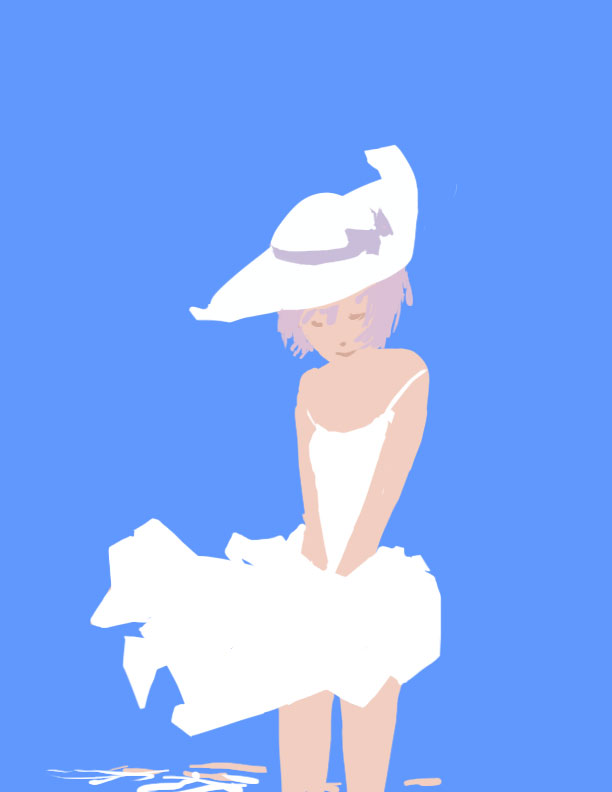
Step 2: A little sculpting Next, we do a little clean up. I add and subtract to the form as necessary. Nothing major, here. I'm just seeing the spots that need filling and doing it. At this point, I'm usually using a regular airbush at maximum hardness and medium pressure sensitivity. Looking thing over for proportions and color, things are surprisingly close to what I wanted, and I'm in a bit of a rush, so I'm leaving things alone in that respect. |
|
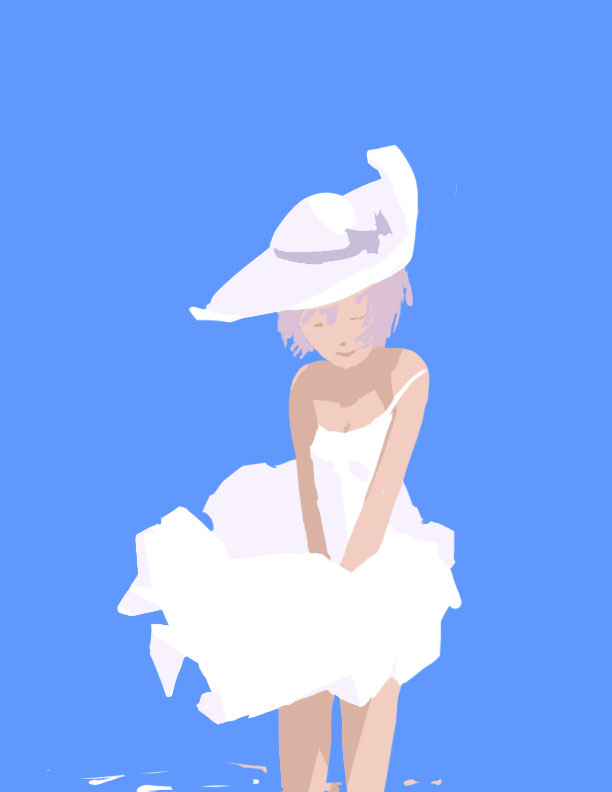
Step 3: Rough shading When it comes to adding new elements to the picture, I almost always make things on a new layer. It makes things a lot easier to tweak later on. In this case, I make a new layer and do the back part of Nana's dress. Keeping in mind the direction of the wind and the way she's holding down the front of her dress, I try and give it the correct shape. Then, once again making a new layer, I put some shading onto Nana's legs and shoulders, taking her hat, head, and the direction of the sun. I want it to look around 10 AM or so, so we'll make the light come from a just a little short of high noon. I'm not shading too darkly, either, since there should be a lot of ambient and reflected light, especially from the water. |
|
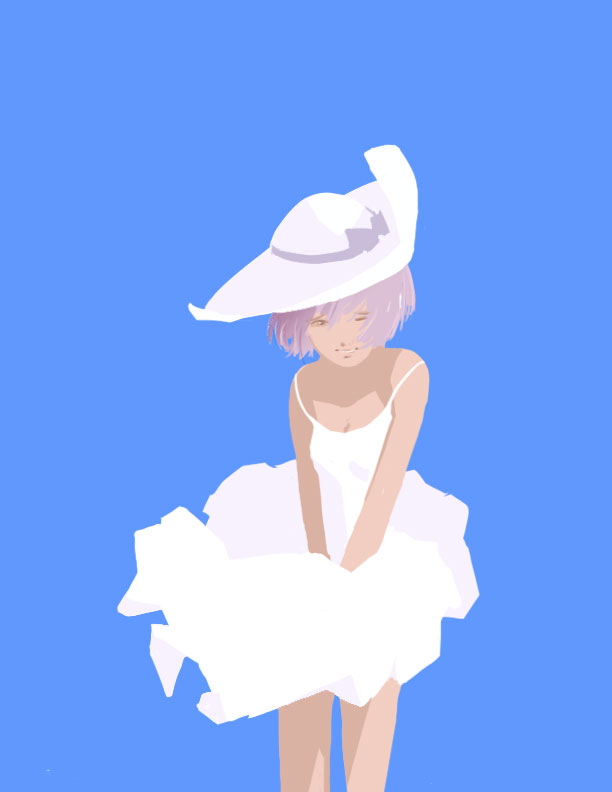
Step 4: More detail At this point, we should be able to see where the 'bad' points of the figure are. Before things go along any further, I'll correct these as best I can. First, I'll fill out the back of the dress. Hm. Shoulders, next. Anyway, that's good enough for now, and we'll move onto the face and hair. First, we'll do the hair in a small brush on the hardest setting, and do the strands in short, smooth, quick, strokes -- It's all in the wrist! To help you visualize the kind motion I'm talking about, think about it this way: If you're a goth, think of it as cutting the wrists of many small rodents. If you're a Rabbi, imagine competing in the world speed-circumcision finals. Anyhoo, I used a bit of a gradient for Nana's hair on the left side, there, and painted over it with strands of the base hair color to get a bit of a bit of depth. The face is, well... it's a face, right? Don't mind, don't mind! |
|
Step 5: Background Repositioning Nana a bit, I move onto the background layer and drop down some darker blues in preparation for the clouds, rocks, and water. Also, I add a little more shading to Nana's dress with the the gradient tool. |
|
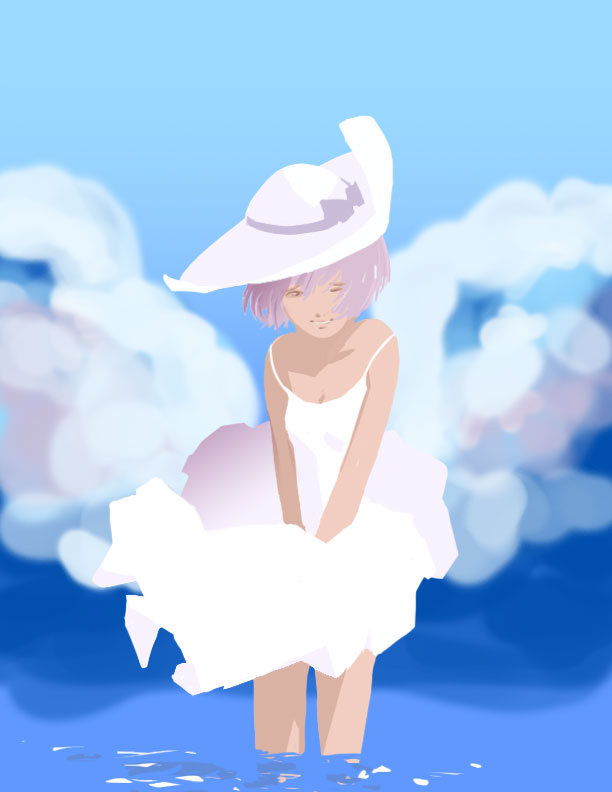
Step 6: Cloud Work Thinking about the direction of the light and keeping Nana's colours in mind, I start putting down some of the groundwork for the clouds. I use a very soft brush with opacity sensitivity for this part, and (pretty carelessly) start working away at it. Don't worry about the exact shape too much at this point... just go at it and get a general idea for the size. |
|
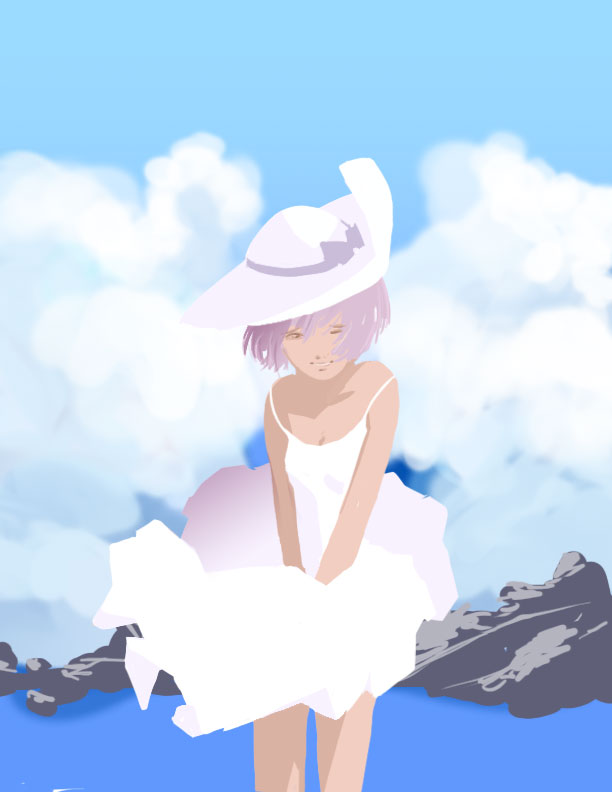
Step 7: Rock rock
on! Adding a lot more white to the clouds evens things up. Using the smudge tool on a pretty hard setting and pushing the colors around to get dark spots where needed adds some more depth. Anyway, for the rocks, I'll just put down a bit of a grey color and use a lighter great for the highlights. Alternating between large round spots of light and strait thin lines gives the illusion of multiple rocks resting on top of one another (hopefully, anyway). |
|
Step 8: More Lighting Kay, here, I'm just adding more white to the clouds as necessary, and using the smudge tool to shape things out. It's not too tough -- give it a try! Just put some white on top of a darker color and let the tool do its work. You might be surprised with the results. Anyway, besides that, I've added another gradient to the sky and water. At this point, I'm usually in 'ZOMG I WANT TO QUIT NOW' mode, which means I need to take a break and do something else for a while before I make the final push to finish the picture. After watching an episode of Tsukuyomi, I'm in 'Nekomimi Mode~', and ready to work again. Remember: it's important to take a break every now and then! If you don't, you'll start to make compromises, just to finish up sooner. Don't do it! Just take a break, instead. |
|
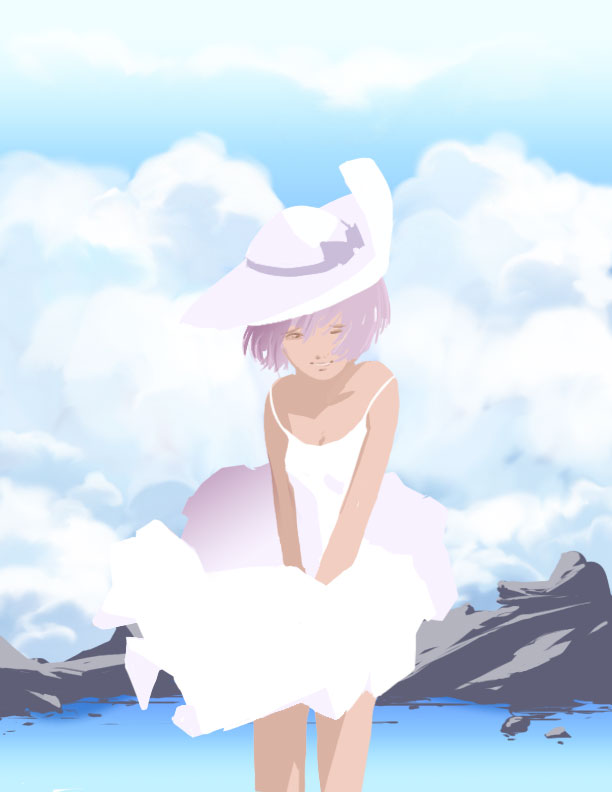
Step 9: Texture Using a dual brush, I mask the rocks and go over them, alternating between light and dark greys. As long as I don't overwork the texture, the earlier light and dark regions should come through, and we shouldn't have to worry too much about shading, later. You can see I'm preparing to do something similar with the water, here, too. |
|
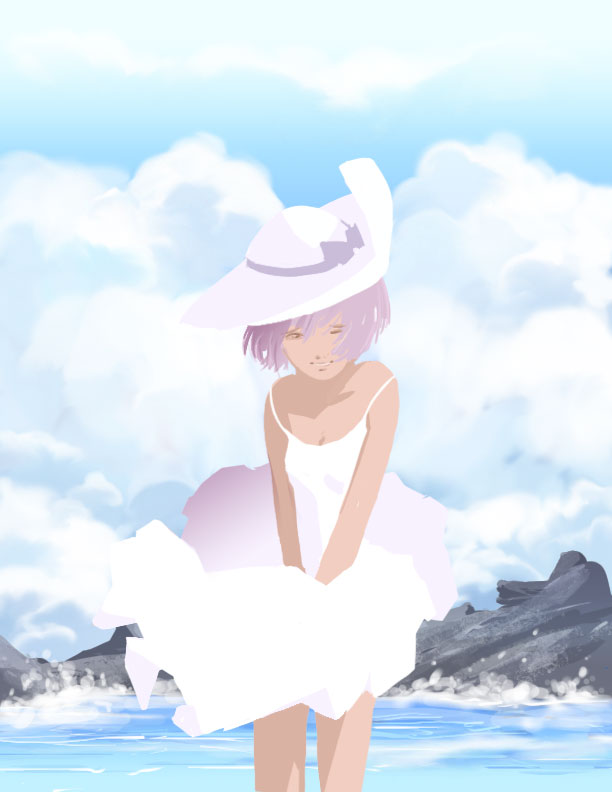
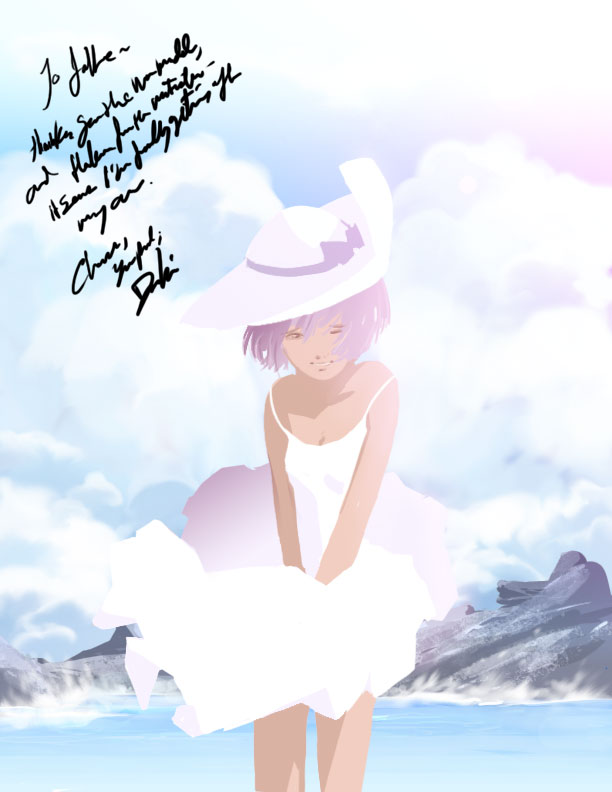
Step 10: Touch-ups
and completion I'm using a low opacity, hard blue brush to go over the water, here, and a medium strength smudge tool to pull the splashes/waves to where they ought to be. Making a new layer and putting it on 'screen' mode, I put another light pink gradient to simulate a little overexposure from the sun. Anyway, that's worth about 6.5... 7 points, maybe. Not great, but not too bad, either. Then, I sign it: "To Jake, Thanks for the Nana model, and thanks for the motivation -- it seems I'm finally getting off my ass. Cheers, Your Pal, Dan Kim" Finally, at the very end, I realize that it looks like Nana let out a tremendous fart and it's even sending out waves along the water. CRAPOLA. I should have spent more time on Step 1. Just call me. G.W. If you liked this tutorial, or have any further questions, just drop me a line in the forum. |